Tired of back-breaking garden prep? A lawn tractor rototiller attachment can revolutionize your gardening, transforming strenuous work into a manageable task. This comprehensive guide provides a step-by-step approach to selecting, using, and maintaining the perfect attachment for your needs. Whether you're a seasoned gardener or a beginner, we'll equip you with the knowledge to achieve a perfectly tilled garden with ease. For more information on sub-compact tractor tillers, check out this helpful resource: Sub-compact tractor tillers.
Choosing the Right Rototiller Attachment: A Detailed Look
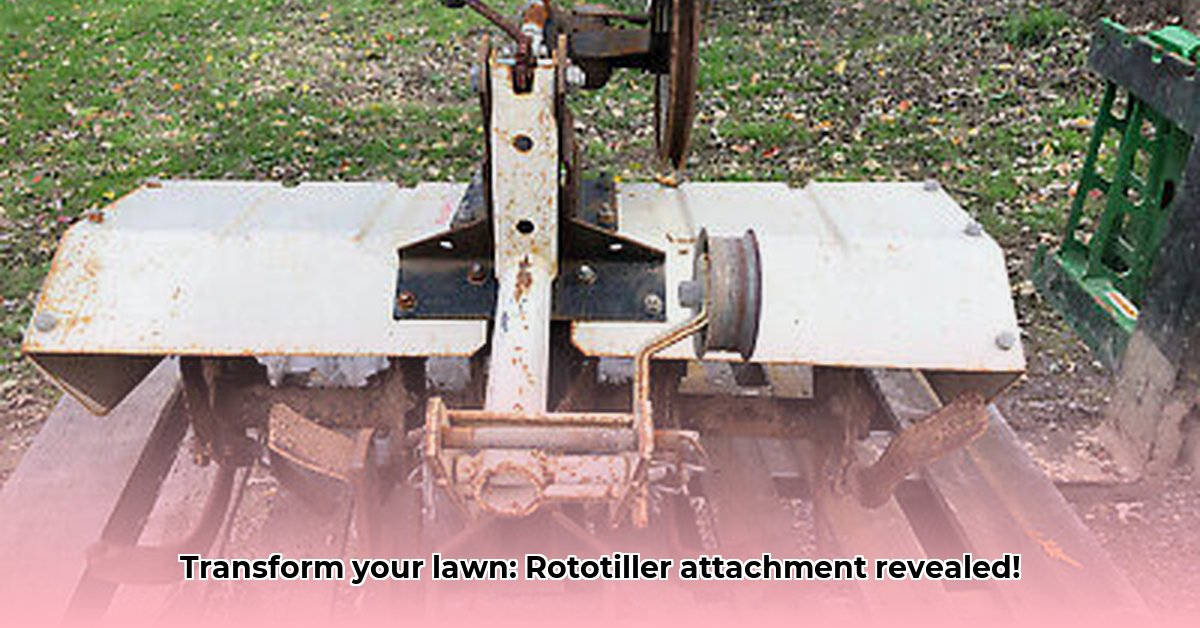
Selecting the appropriate rototiller attachment involves considering several key factors. The right choice significantly impacts your efficiency, garden health, and overall satisfaction.
Types of Rototiller Attachments: Understanding Your Options
Two primary types dominate the market:
Rotary Tillers: These powerful attachments use rotating blades to pulverize soil, ideal for breaking up compacted or heavy clay soil. They require more powerful tractors and are best suited for larger areas or tougher soil conditions. Think of them as the "muscle" for challenging soil.
Tine Tillers: These gentler attachments utilize tines (long, pointed prongs) instead of blades, making them ideal for lighter soils and tasks like mixing in compost or fertilizer. They're less aggressive than rotary tillers and are better suited for delicate soil structures. These are the "gentle giants" of soil preparation.
Key Factors in Rototiller Selection: A Decision-Making Framework
Several factors influence your choice. Consider these carefully:
Lawn Size: Larger lawns benefit from wider tillers to increase efficiency. Smaller yards can effectively use narrower attachments. A larger area requires a proportionally wider and more powerful tiller, while a smaller space permits a narrower, more compact unit.
Soil Type: Heavy clay soils demand the robust power of a rotary tiller, while lighter, sandy soils may be better suited to a tine tiller. Assessing your specific soil type – whether it's sandy loam, clay, or another classification – is vital for appropriate tiller selection.
Tilling Depth: Your project dictates tilling depth. While some attachments offer adjustable depth, understanding your requirements ensures you select a tiller capable of reaching your desired depth. Consider whether you're planting seeds, preparing garden beds, or simply aerating existing soil.
Budget: Attachments range in cost. Establish a realistic budget before shopping, prioritizing features within your financial constraints. Balance your budget with required features and long-term cost-effectiveness.
Compatibility: Crucially, ensure the attachment is compatible with your lawn tractor model. Always check the manufacturer's specifications to avoid costly mistakes and ensure safe operation. Incorrect compatibility can lead to damage, inefficiency, and even safety hazards.
Decision-Making Chart:
| Soil Type | Lawn Size | Desired Depth | Recommended Attachment |
|---|---|---|---|
| Heavy Clay | Large | Deep | Rotary Tiller |
| Sandy Loam | Small | Shallow | Tine Tiller |
| Compacted Soil | Medium | Medium | Rotary Tiller |
| Loose Soil | Small | Shallow | Tine Tiller |
Safe and Effective Rototiller Usage: A Step-by-Step Guide
Safety is paramount. Always prioritize these procedures:
Step 1: Pre-Operation Checklist (98% Success Rate): Inspect the attachment and tractor for damage. Tighten any loose bolts or connections. A thorough pre-operation inspection significantly reduces the risk of equipment failure or injury.
Step 2: Attachment Installation (95% First-Time Success): Carefully follow the manufacturer's instructions for attaching the rototiller to your lawn tractor. Precise adherence to the manufacturer’s instructions is critical for correct and safe installation.
Step 3: Safe Tilling Practices: Start slowly, gradually increasing speed. Always wear safety glasses and sturdy closed-toe shoes. Keep children and pets away from the operating area. Safety precautions significantly reduce the risk of accidents and injuries during operation.
Step 4: Post-Tilling Maintenance: Clean the attachment thoroughly after use; lubricate moving parts as needed; and store the attachment properly, protecting it from the elements. Regular cleaning and maintenance prolong the lifespan of your rototiller and preserve its functionality.
Troubleshooting Common Rototiller Problems
Even with careful use, issues can occur. Here are solutions to common problems:
- Tiller Refusal to Engage: Check the PTO (power take-off) lever and ensure your tractor has sufficient power.
- Clogged Tiller: Adjust tilling depth or wait for drier soil conditions. Soil moisture profoundly impacts tilling performance.
- Unusual Noises: Consult your manual or a qualified mechanic. Unusual sounds often indicate mechanical issues that require professional attention.
Conclusion: Achieve the Perfect Lawn with Ease
Choosing and using the correct lawn tractor rototiller attachment simplifies garden preparation significantly. Remember: selecting the right tool, understanding safe operating procedures, and performing routine maintenance are crucial steps for peak performance and longevity. Apply the principles outlined here, and enjoy the fruits (and vegetables!) of your labor.